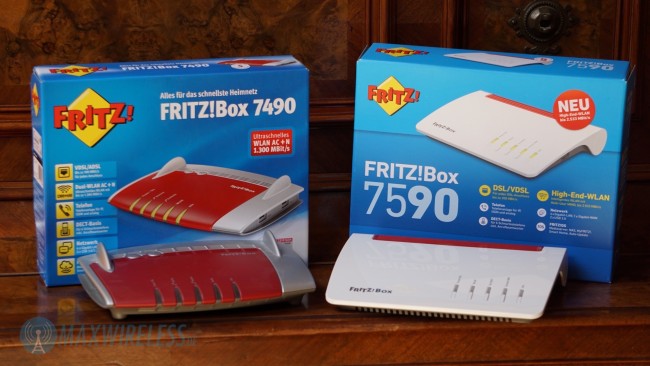
In this tutorial, we will show you how to easily setup any VPN application on a FRITZ!Box router to secure your internet connection. Scroll down for more details.
Configuring VPN via WPS (WiFi Protected Setup)
The FRITZ!Box should be set by default for WPS in the factory settings. However, If you have made any changes to its wireless settings, then you will need to set it up through the following steps:
1- Navigate to the Fritz!Box user interface, click on “Wireless” or “WLAN”.
2- From the “Wireless” menu, click on “Security”.
3- Click on “WPS Quick Connection” tab.
4- Make sure to enable WPS.
5- Choose “Push-Button method (WPS-PBC, Push Button Configuration)”, and then click on “Start WPS”.
Creating a Wireless Connection on FRITZ!Box (Windows 10)
1- Go to “Start” menu, and then click on “Settings”.
2- Next, click on “Network and Internet”, and then from the “Settings” menu, select “Wi-Fi”.
3- A list of all available connections will be displayed. Choose the connection that shows the wireless network name (SSID) of your FRITZ!Box, and then click on “Connect”.
4- Push the “WLAN” button located on the top side of your FRITZ!Box for around 6 seconds until you see the “WLAN” LED flashing.
5- You will be prompted by the following message “Do you want to allow your PC to be discoverable by other PCs and devices on this network?”, click “Yes”.
You have successfully established a wireless connection on FRITZ!Box. Well done!
Creating a Wireless Connection on FRITZ!Box (Android)
1- From the home screen of your Android device, tap on “Settings”.
2- Navigate through the “Settings” menu, and then tap on “Wi-Fi”.
3- Next, tap “More settings” to open.
4- Tap “WPS push button” to launch the “WPS setup” window.
5- Push the “WLAN” button located on the top side of your FRITZ!Box for around 6 seconds until you see the “WLAN” LED flashing.
6- Tap “OK”.
You have successfully established a wireless connection on FRITZ!Box. Well done!
Creating a Wireless Connection on FRITZ!Box (iOS)
1- From the home screen of your iOS device, tap on “Settings”.
2- Navigate through the “Settings” menu, and then tap on “Wi-Fi”.
3- Toggle the Wifi button to make sure that your wireless LAN is turned on.
4- From “Choose a network…”, a list of all available connections will be displayed. Choose the connection that shows the wireless network name (SSID) of your FRITZ!Box.
5- Insert your FRITZ!Box password in the “Password” field, and then tap “Join”.
You have successfully established a wireless connection on FRITZ!Box. Well done!
Creating a Wireless Connection on FRITZ!Box (Mac OS)
1- Navigate through the “menu” bar located at the upper corner of your screen, and then the click on the wireless icon.
2- A list of all available connections will be displayed. Choose the connection that shows the wireless network name (SSID) of your FRITZ!Box.
3- Insert your FRITZ!Box password in the “Password” field, and then click on “OK”.
You have successfully established a wireless connection on FRITZ!Box. Well done!
Configuring VPN on FRITZ!Box
1- Click to open your VPN software client on your device (e.g: bVPN).
2- Enter your VPN credentials (e.g: username and password) to log in.
3- Choose a server your VPN’s available list of servers to create a VPN connection.
4- Click on “Connect”.
Congratulations! You are now connected to VPN on FRITZ!Box.


One thought on “How to Setup VPN on Fritz!Box Router”
Worthless post about VPN